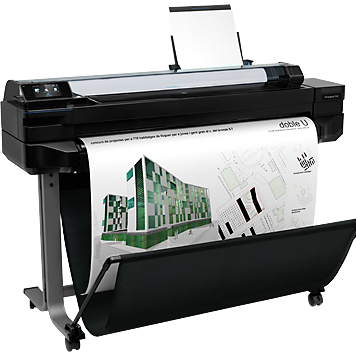
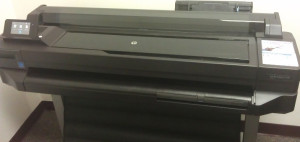
HP DesignJet T520 Installation

 Last week’s most notable job was the installation of a new HP DesignJet T520 36″ for Prolann. It wasn’t the biggest, most complex, or most challenging job for the week, but it was a throwback to my previous employment where I used to install earlier model HP DesignJets all the time. Most of those were in the 500 series, to which the DesignJet T520 is the successor.
Several years had passed since I had last set up or even seen a new DesignJet, so there was certainly some nostalgia. The new plotters are smaller, easier to load with rolls or sheets, and have a lot of features, like wired and wireless networking, that were expensive options or unavailable altogether in the days of the 500 series.
In keeping with HP’s tradition, the packaging was carefully engineered to allow easy unpacking and assembly, and the smaller size made most of those operations easier than they used to be. We used to have an old stretcher to put the plotter on until the stand was assembled for us to lift it onto; now the plotter is shipped in such a way that the stand can be attached while the plotter remains in the box, upside down, then the whole thing flipped over (still a two person operation) onto its wheels.
The only hiccup I experienced when setting up this plotter was when it refused to obtain an IP address via DHCP. This was no practical impediment since these things are better assigned statically as had been my intention from the beginning, but it was a bit of a head scratcher that induced me to try a couple of different network cables before I shrugged and put in an address manually.
